Showing posts with label CSS. Show all posts

Sunday, December 9, 2012

@font-face and Blogger: Easy Way

You want to use @font-face with Google's Blogger? I'll cover two different ways to do it; the easy way, with limited font choices, and (coming soon) the not as easy way, but you can use any font you have rights to.

A specimen of the font Lobster.
The Lobster font.

The easier solution is to find a font you like at Google Web Fonts. It's easier because Google generates the different types of font files needed for browser compatibility and more importantly hosts the font files for you. All you need to do is find a font you want to use and get the link to its stylesheet that will make the font available to other CSS. The link looks like this:

<link href='http://fonts.googleapis.com/css?family=Lobster' rel='stylesheet' type='text/css'>

Now that you have a link to the CSS file it needs to be included in the blog's template HTML. In the Blogger dashboard choose "Template" from the menu on the left and then click the "Edit HTML" button. A warning message will be displayed, click on "Proceed." Now is probably a good time to copy all of the HTML into a text editor and save it as a backup so it can be restored later if something goes horribly wrong. Now find the <head> element and add the link element right after it so that the HTML looks like this:

<head>
   <link href='http://fonts.googleapis.com/css?family=Lobster' rel='stylesheet' type='text/css'>

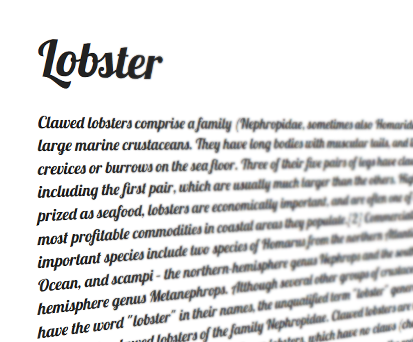
Now the font files will be downloaded to the viewer's browser but how do you use them with CSS? Google Web Fonts also shows the contents of the linked CSS file so you can see the properties needed to set it as a style. Styles can be added using Blogger's "Add CSS" feature under "Template" - "Customize" - "Advanced" - "Add CSS". For this example we can create a CSS class like

p.lobster {font-family: 'Lobster', cursive;font-style: normal;font-weight: 400;font-size: 18pt;color: #BF1A2B;}

and you can have text that looks like this (though I don't recommend it) by setting a class of "lobster" on the paragraph:

The lobsters are loose! Run for your lives! Cover yourselves in butter!

Part two of this soon to be two part series will cover the "Not so easy way of using @font-face with Blogger" which involves serving font files using Google's App Engine.

Saturday, November 26, 2011

Animated menu for a web page

I'm working on revamping Smashingline and wanted to make the menu at the top a little more interesting. I decided to create a menu with two "pointers." One to point at the item your cursor is currently over (highlighted) and another to indicate the current item (selected). The menu was made with HTML5, Javascript, and CSS. I also used jQuery to animate various elements. I was inspired by the page eCSspert to use only HTML and CSS for the graphic elements.

Essentially the menu consists of a "menu bar" div with "menu item" divs above it. When the cursor passes over the bar its mouseover event is fired and the highlight pointer is shown. When the cursor moves from one menu item to the next the animation is triggered causing the pointer to move. One of the problems with this approach is that when transitioning from one item div to another the bar div fires a mouseout event even though the location of the cursor is still "inside" the bar div. Event propagation is probably one of the most common problems when working with mouseenter and mouseout events. Fortunately jQuery has solved this problem by implementing its own mouseleave event which was introduced by Microsoft and is supported natively in IE. The mouseleave event is only fired when the cursor actually exits the region of an element, no matter the number of child elements. Very handy.

The pointers are constructed from HTML div elements and CSS. Generally each of the two pointers has a base div that is the same width as the menu items. The div's height and setting its overflow property to hidden dictates how much of child div which is rotated 45 degrees is visible.

Finally since you may want the web page to take some action once the user makes a choice a callback can be set on the MenuMarker class. This function is invoked once the animation is finished. The demo here displays an annoying alert dialog with the the text from the menu item displayed.

The source code (in three separate files) is available for download from a Github Gist. These can also be combined into a single HTML file and loaded dynamically as needed using the jQuery load method.